Bike maintenance with kids is fun! (And takes twice as long.)
(Photos: Madi Carlson)
Shout out to all the fair-weather family bikers! Rumor has it the gorgeous weather won’t last, but it’s lovely out right now and my kids’ bikes have lots of new company at the school bike racks.
Have you ever excitedly greeted your dusty, neglected bike in the garage on the first nice day of the year only to find it has two flat tires? Fortunately your tires don’t need repairing — rubber is porous and as soon as you pump air back in, your bike will be ready to roll. Keeping the right amount of air in your tires is a relatively easy task, and it’s incredibly empowering to be able to keep your family’s fleet functional. Yeah, plenty of other things can go wrong with bikes, but flat tires are the most common woe. Plus, kids can help, and — if yours are like mine — they’re probably already familiar with your bike pump, having shot air into their mouths, noses, and down their pants.
Here are some basic tire-pumping tips…
➤ Get a floor pump
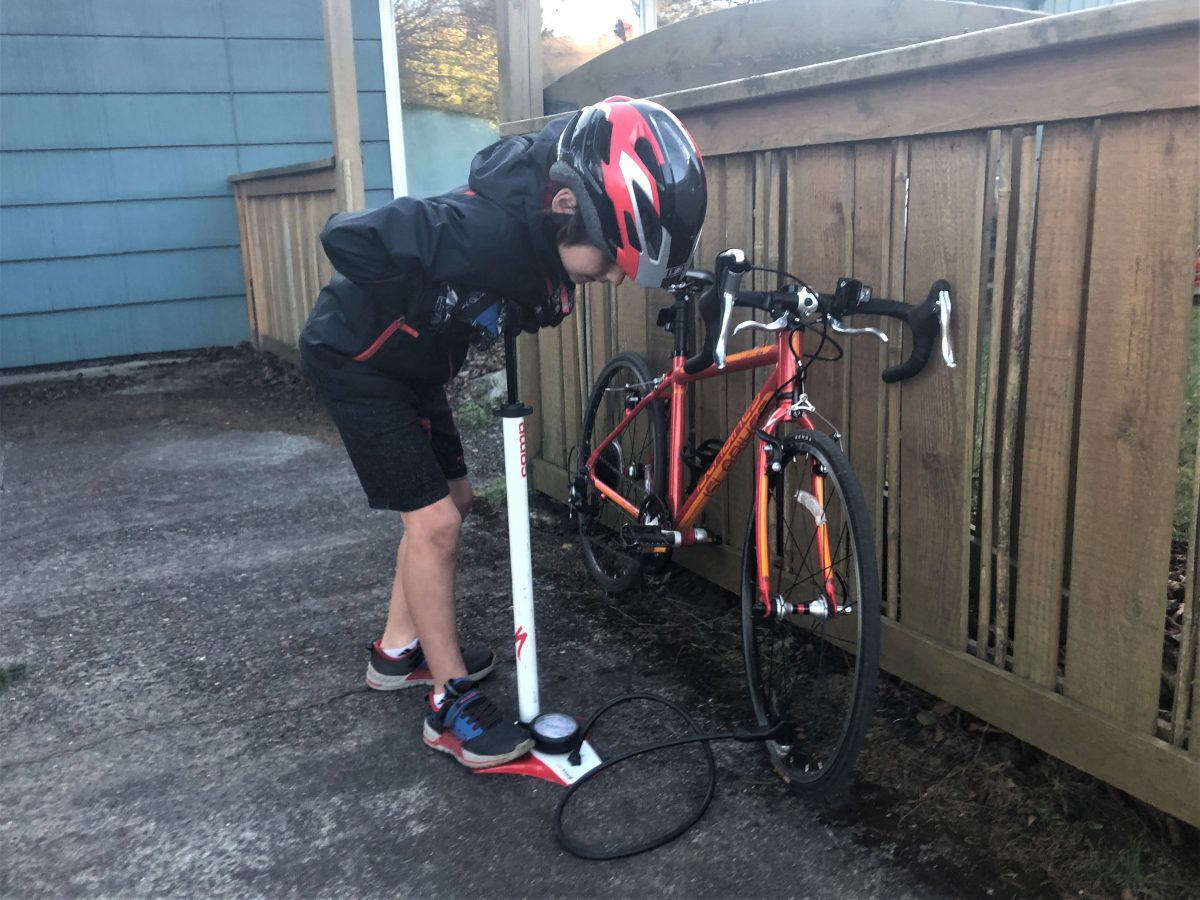
I love having a floor pump at home. Unlike a handheld pump, it has a wide bar for grip and flat plates for my feet so it doesn’t wobble around. I also have a small pump I keep on my bike for out and about use, but the ease — both speed and not having to bend over as much — of a floor pump can’t be beat. They run about $50-$100 at shops. If that’s too steep, ask to borrow one from a neighbor.
Note: If there’s no pump of any sort to be found, it won’t harm your bike to walk it to a bike shop on flat tires. You shouldn’t ride a bike with flat tires though, because you’ll damage your rims. However, if you must carry a small kid to find your source of air, and you have wider tires, that’s probably not enough weight to do damage.
➤ Tire pressure
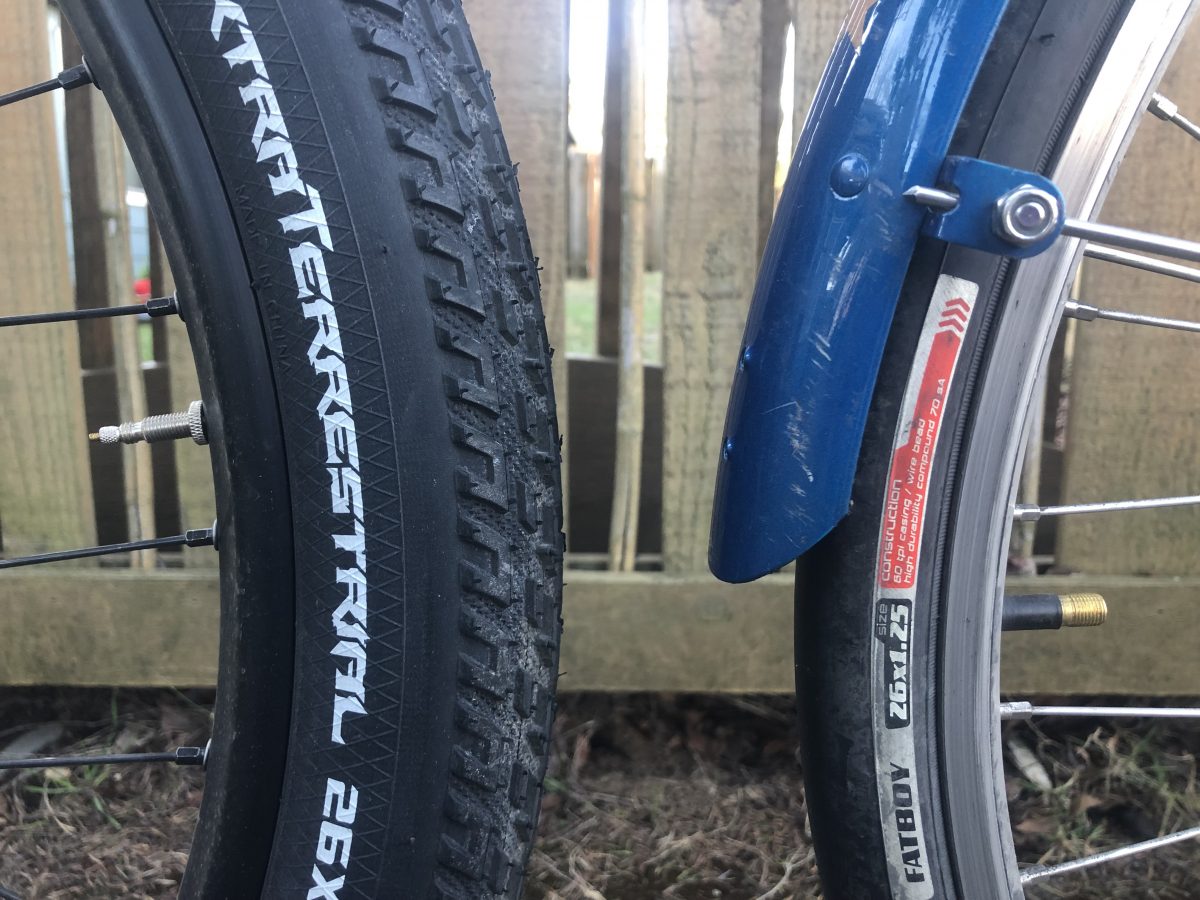
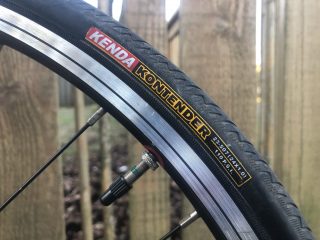
Your bike will tell you how much air it wants! All bike tires have either a range or maximum air pressure printed on their sides. Some will list several units, but I just look for psi (pounds per square inch). In general, hybrid bike medium-width tires take 50-70 psi, knobby mountain bike tires 30-50 psi, skinny road bike tires 80-130 psi, and fat bike tires (over four inches wide) 15-25 psi. Since I carry a lot of weight on my bike, I always pump it up to the maximum. I’m also not great at checking my tires often so they don’t get noticeably low as quickly when I pump them up to the max. We pumped the little road bike pictured above to the 110 psi max, but a bike mechanic friend suggested to stick to 80 psi for a more cushiony ride given its light rider who doesn’t carry extra gear on the bike.
Kids help: Tire pressure numbers can be so small! Let younger eyes search the sides of your tires for the numbers.
BikePortland relies on financial support from readers like you.
Please join hundreds of other readers and
subscribe for $10/month or
make a one-time payment today!

Presta valve left, Schrader valve right.
➤ Valve types
There are two main valve types: Presta and Schrader.
Schrader valves are the wider ones that are exactly like the valves on car tires (I remember which is which because sChrAdeR has the letters c-a-r in it) and Presta valves are the narrow ones that I’m really good at breaking. My floor pump nozzle goes on either valve type, but my portable pump has a removable chuck at the end that screws to the pump in different orientations depending on the valve type. Some pumps have two different holes. I find Schrader valves harder to get my pump onto, but Presta valves require an extra step of unscrewing the little lock nut. Both valve types might have black plastic caps protecting them you must unscrew before attaching your pump. Those little caps are really easy to lose during the course of pumping up tires (especially if you’re distracted by kid helpers), but don’t worry — it’s not that big a deal if you leave them off.
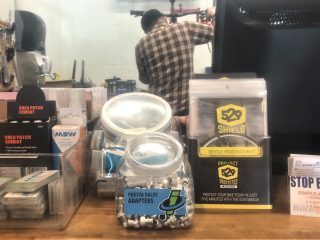
If you happen to have a bike with Presta tubes and a pump only for Schrader valves, you can buy an adapter for about a buck, usually found on your local bike shop counter. These were more useful to have back in the days of free air at gas stations.
Kids help: I like to have the job take twice as long by involving the kids, so after I’ve got the pump attached to the valve, I have them pump the air until they get too tired to finish the job.
➤ Eight easy steps:
(As seen in my book Urban Cycling: How to Get to Work, Save Money, and Use Your Bike for City Living)
1. Find the valve. For a floor pump, spin your wheel to place the valve at the bottom (6 o’clock). For a very small pump, unless it has a foldout foot rest, spin your wheel to get the valve to the top (12 o’clock) so you don’t have to bend over so far.
2. Remove valve cap. For Presta valves, untwist the lock nut to open the valve — don’t try to pull it all the way off, just untwist to the top of the pin — that will allow the pin to depress once the pump is in place. Tap the top of the pin; you should hear air hiss out. This tapping of the pin also ensures that it’s not stuck in place before you secure the pump.
3. Attach the pump head. For pump heads with levers: flip the lever into the down position, push the head onto the valve as deep as it easily goes, and then flip the lever into the up position to lock it in place. For pumps that screw into place: twist the piece at the end of the pump several times so the pump is well sealed to your valve.
4. Pump. When pumping, pull the pump all the way up and push all the way down. You shouldn’t hear air escaping out the side of the head. If you do hear air escaping, you probably haven’t attached the pump well enough, although it also might be a sign of a faulty pump head. Re-attach and try again.
5. Check the tire pressure. The tire pressure is the number the pump settles at once you’ve stopped pushing down on the pump, not the highest number the pin hits while you’re in the action of pumping.
6. Carefully remove the pump head. Unscrew your pump head (or close down the lever and remove) at a nice straight angle so you don’t bend the valve or pull off the Presta valve’s pin with the lock nut. Note: the hiss of air you hear when you remove the pump is coming from the pump, not the tire; your tire pressure is still right where you left it.
7. Retighten Presta lock nut.
8. Replace the valve cap. Feel around on the ground or dig around in your pocket for where you left your valve cap and screw it back on to your valve.
➤ Squeeze your fully-inflated tires
Hey, now that you’ve got the right amount of air in your tires, give them a squeeze so you know what they should feel like. Remember, tubes and tires are porous so they’ll lose air over time. Very diligent people check their tires every single time they use their bikes. I try to check our tires every week. I actually check our tires every few weeks. Granted, wider tires with lower psi are going to hold onto their air longer so our bikes (other than the pictured little road bike) are built for less diligent squeezers.
Kids help: Kids love putting their hands all over the dirtiest parts of their bikes! Have them get a feel for squishy versus full-inflated tires.
➤ Snake bite!
So what’s wrong with riding on low tires anyway, you’re wondering? Well, in addition to making it much harder to push your bike along, you run the risk of getting a pinch flat — when you hit a bump or pothole and your under-inflated tube is pinched against the rim. This usually makes two small holes, thus the name “snake bite.”
➤ Slow leaks
If you’re finding your bike tire is low more than every few weeks, you’ve got a slow leak. This is usually the result of a number of minuscule holes that are impossible to find and patch and you’ll need to get a new tube. However, if you’re very stubborn you can pump that tire every time you use the bike (been there, done that).
➤ Solid tires
Is all this pumping and pressure talk making your head spin? There are solid tires out there. I first saw foam rubber tires on Strider balance bikes, but I’ve experienced them first-hand on dockless bikeshare bikes in Seattle. It’s hard to know whether to blame the heavy bikes or the foam tires (or both!) for their clunkiness, but I wasn’t worried about flats!
Have you any tire advice to add — maybe you have experience with tubeless or Slime? Thanks for reading!
Remember, we’re always looking for people to profile. Get in touch if it sounds like fun to you. I’d especially like to feature families of color so please get in touch or ask friends of color who bike with their kids if they’re interested in sharing their stories. And as always, feel free ask questions in the comments below or email me your story ideas and insights at madidotcom [at] gmail [dot] com.
— Madi Carlson, @familyride on Instagram and Twitter
Browse past Family Biking posts here.
Never miss a story. Sign-up for the daily BP Headlines email.
BikePortland needs your support.
The post Family Biking: A primer on tire pumping appeared first on BikePortland.org.
from Latest headlines from BikePortland https://ift.tt/2TKqPwV


No comments:
Post a Comment